|
 Duckworks entry Sails!
- Duckworks entry Sails!
-
Sailing bits, and
polytarp sail making.
 |
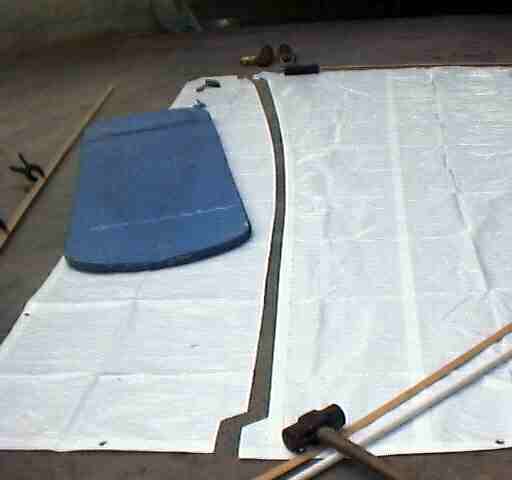
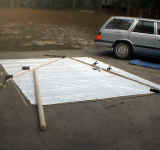
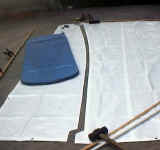
This
shows how the poly tarp is cut to get the sail to fit. Poly tarp is
easily fastened to itself with double sided exterior carpet tape. It
is fiberglass reinforced and exceptionally strong. You can stitch on
top of it if you're a "belt and suspenders" kind of person. The
photos below show using a larger tarp, but you could start this
way. |
 |
Here's the sketch with side
lengths. |
 |
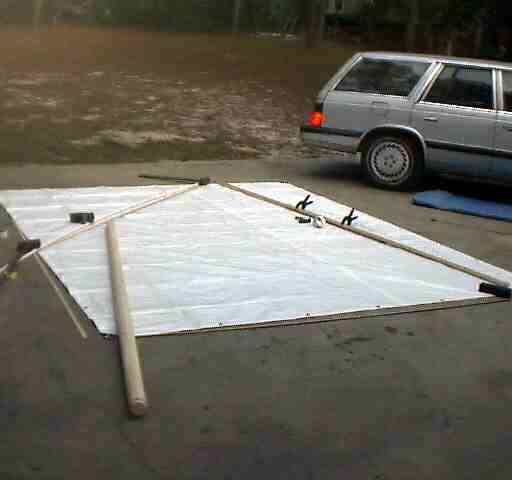
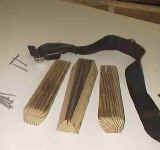
I
marked the length of the sail's sides on wood strips and then did a
trial layout. |
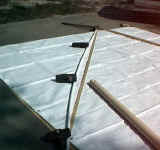 |
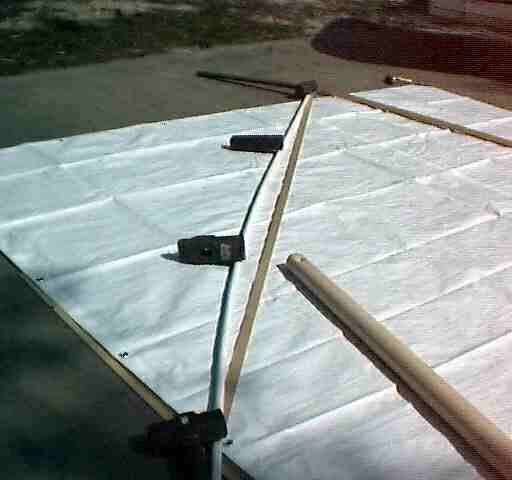
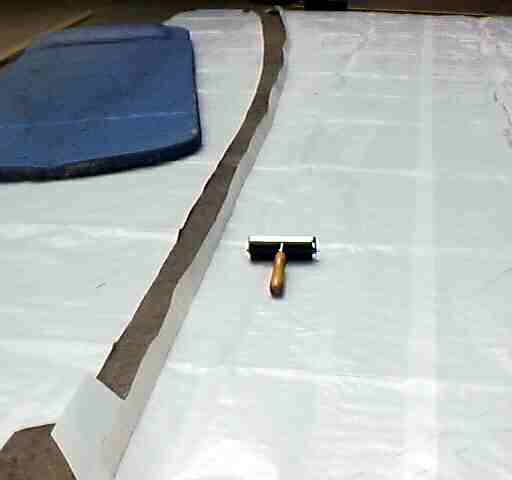
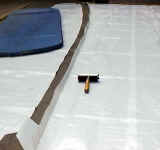
I use
3/4" PVC pipe to layout the curves of the sail edges. Here I'm
drawing the shape of the head or top edge of the sail. This edge
will be attached to the upper spar by rings or ties. I held
the pipe in position with weights then traced its curve
lightly. (Head or top of the sail curves out about 3 inches and
the leech or trailing edge of the sail curves in about 2 inches.) If
she needs more shape I'll try the little edge pleats that Dave Gray uses. As you might suspect, I try
simpler first and get complicated only if necessary;-) |
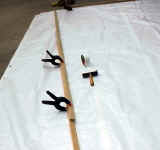 |
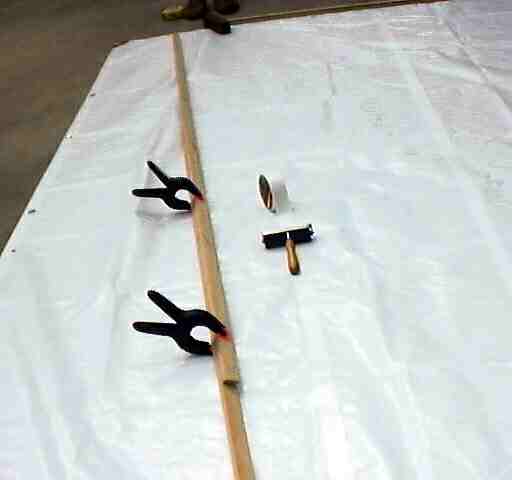
After
tracing the pipe, I apply double stick fiberglass reinforced carpet
tape on the outside of the line. An artist brayer helps apply it
smoothly. |
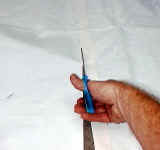 |
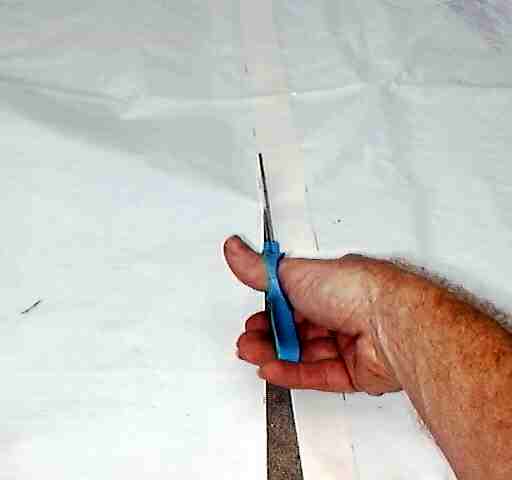
I
then cut along the outer edge of the tape. (A foam pad or knee pads
is handy for this part. You'll do a lot of crawling
around.) |
|
 |
I use
the brayer again to form a crease along the inner edge of the
tape. |
 |
Then, a few inches at the time the backing is peeled
and the tape is rolled tight. |
 |
Along the head of the sail place 1/4" bolt rope to
help take up some of the stress and also keep the sail rings from
pulling through. Some put bolt rope around the whole sail, but
I've been told the smoother the air flow over the leading and
trailing edges of the sail the better. Besides that fiberglass
reinforced tape lends amazing stretch resistance to the sail
material. |
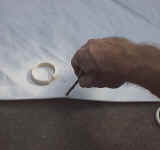 |
I
have previously melted through the sail just inside the bolt rope
with my soldering iron, but this time I used the tip of my glue gun
to melt it slightly, followed by an awl. These rings are actually
sold for shower curtains. (OK, don't laugh, they work!) If these
don't fall under the catagor of "fasteners" in the rules, short
lengths of the 1/4" rope would work fine too. Though I couldn't make
hot melt glue work for the seams, it seemed to work fine for the
corner reinforcements, and tacking down loose
corners. |
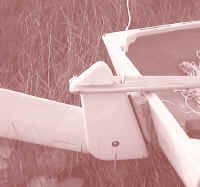 |
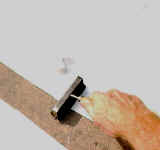
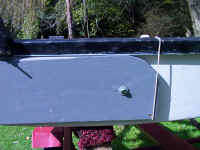
This shows a "fair
lead" created by drilling a hole through the tiller handle then
rounding the edges with 3/8" quarter round a router bit. The main
sheet and the tiller can be controlled with one hand, and the hole
is positioned so you can pinch the sheet between the tiller and the
top of the rudder head. Lift the tiller and release and the line
runs free. Regular pintels and gudgeons could be used. Here I use
the double taper block approach. If loose footed, skip this and
sheet to the transom corners for best sail
trim. |
 |
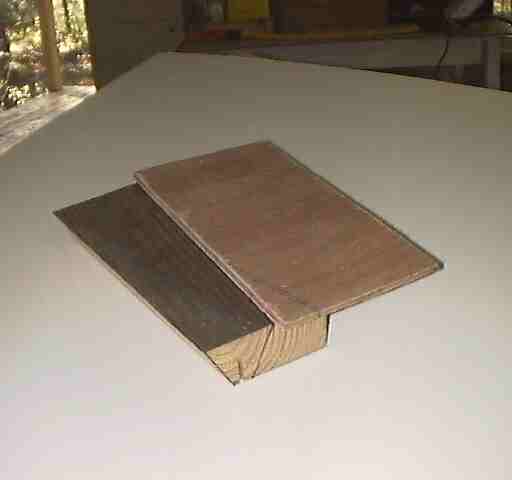
Within the rules I could take the taper trim pieces
from the mast, glue the sawn faces together making it a rectangle
then laminate into a 2x6 10" long. (Could happen!)
If this seems too far
fetched materials use, substitute stainless or bronze pintels and
gudgeons - but this wedge gizmo works great!
|
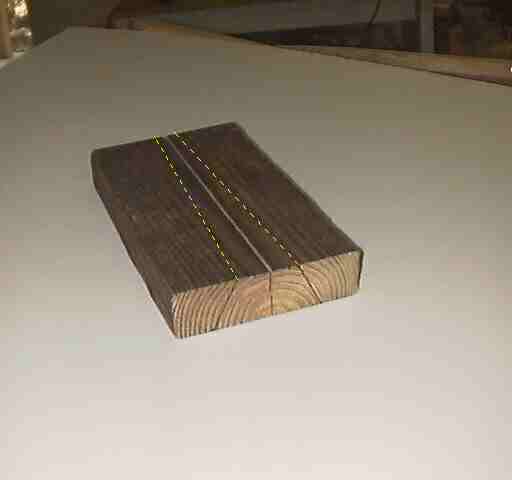
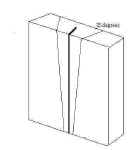
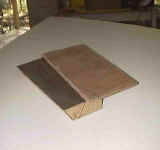
 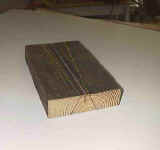 In this
10" piece of 2x6, I cut a 7/8" deep saw kerf down the center. The yellow
dotted lines shows how I taper the insert. In instrument building this
trick is used to join necks to bodies. When you insert it it will snug it
up against the transom. Way easier then hanging over the stern of a small
boat trying to line up pintels, I promise! In this
10" piece of 2x6, I cut a 7/8" deep saw kerf down the center. The yellow
dotted lines shows how I taper the insert. In instrument building this
trick is used to join necks to bodies. When you insert it it will snug it
up against the transom. Way easier then hanging over the stern of a small
boat trying to line up pintels, I promise!
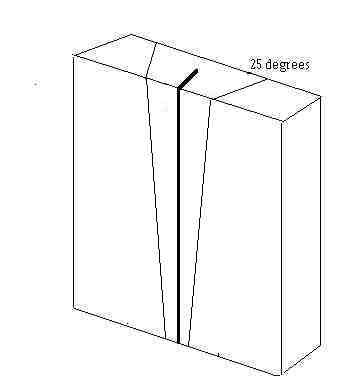
 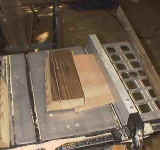 This could all be done with a hand saw,
but I used the table saw. I don't own a taper jig. But here's an easy way
to cut a taper using a scrap of plywood. I set the saw to 25 degrees and
clamped the fence about 5 inches away. I ran a scrap of plywood throught
the saw. I then lined the cut edge of the ply up with marks I made on the
BOTTOM of the wedge stock. I stapled it in place with 1/2" staples and ran
in through the saw. I then pulled it off and stapled it to the other
line. Works great. This could all be done with a hand saw,
but I used the table saw. I don't own a taper jig. But here's an easy way
to cut a taper using a scrap of plywood. I set the saw to 25 degrees and
clamped the fence about 5 inches away. I ran a scrap of plywood throught
the saw. I then lined the cut edge of the ply up with marks I made on the
BOTTOM of the wedge stock. I stapled it in place with 1/2" staples and ran
in through the saw. I then pulled it off and stapled it to the other
line. Works great.
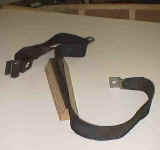 |
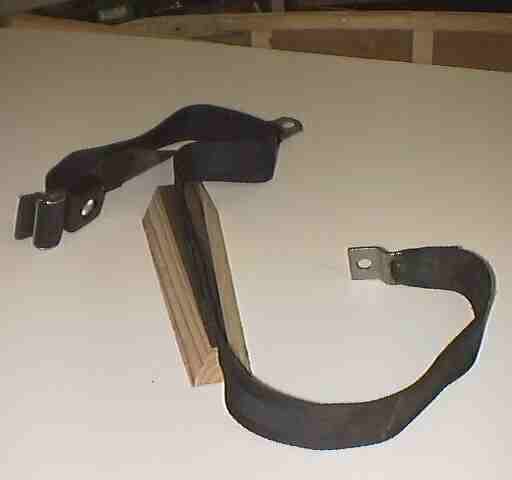
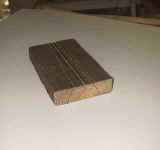
Here's the wedge with the seatbelt webbing trial fit
in the saw kerf. Ultimately I glue it in with PL Premium and
anchor it with some small ring nails for "safes." Is seatbelt a
fastener? Could melt a bunch of short pieces of 1/4" rope
together..... hmmmm.... |
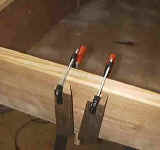 |
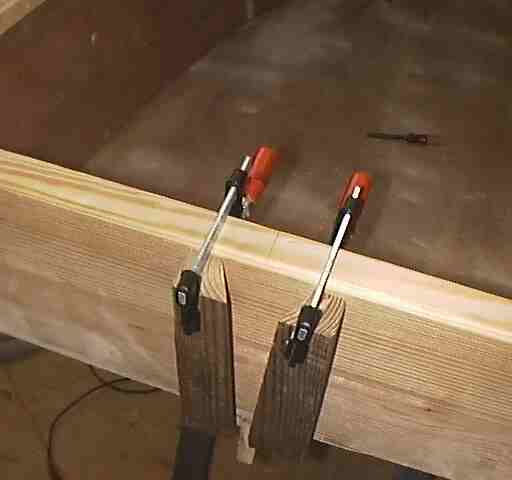
Here
are the receivers trial clamped to the transom. |
 |
I shortened
the receivers so the wedge is longer so I could tap it loose if it
should get stuck. I've also rounded the edges and sanded them
some. |
 |
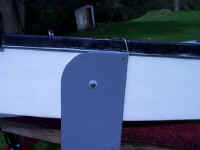
The
leeboard idea I got from my friend Richard Frye. It will work with
internal chine logs or stitch and glue. The board bolts flat against
the side with a plastic spacer to reduce friction. It "bump" stops
against the gunnel in the down position. |
 |
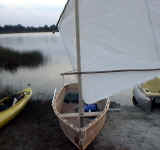
There is a simple 1/2" hole
drilled in the top of the mast for the halyard. It is rounded with a 3/4"
quarter round router bit. Just above the mast partner two wooden cleats
are screwed on either edge of the mast. One is for the halyard and the
other for the down haul.
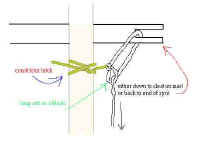 A simple snotter tensions the
sprit boom.
A simple snotter tensions the
sprit boom.
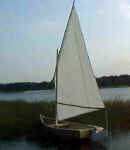 |
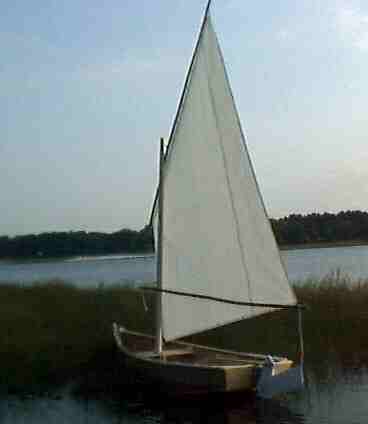
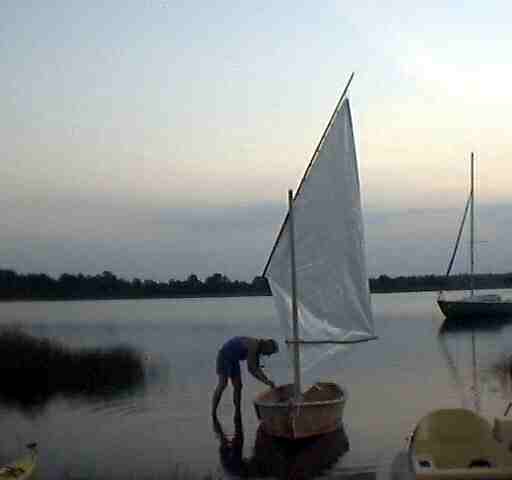
Here
she is rigged, in the sprit boom version. |
 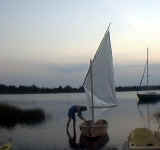 In spite of no wind I was determined to
sail. In spite of no wind I was determined to
sail.
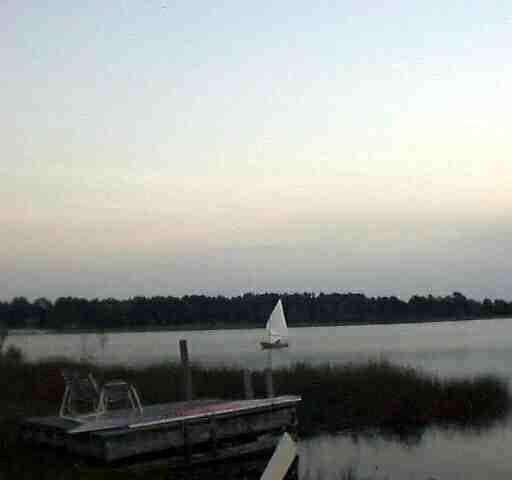
 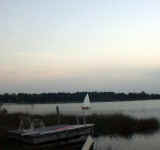 So
we went out. So
we went out.
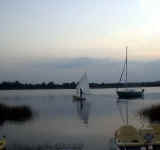
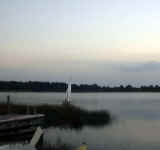  We came back. The breeze was almost
theoretical it was so light, but she slipped along nicely. Since then I've
had her out in a few good breezes and according to my Garmin GPS we hit
7.5 knots quite a few times. We must have been planeing though I didn't
feel it. We came back. The breeze was almost
theoretical it was so light, but she slipped along nicely. Since then I've
had her out in a few good breezes and according to my Garmin GPS we hit
7.5 knots quite a few times. We must have been planeing though I didn't
feel it.
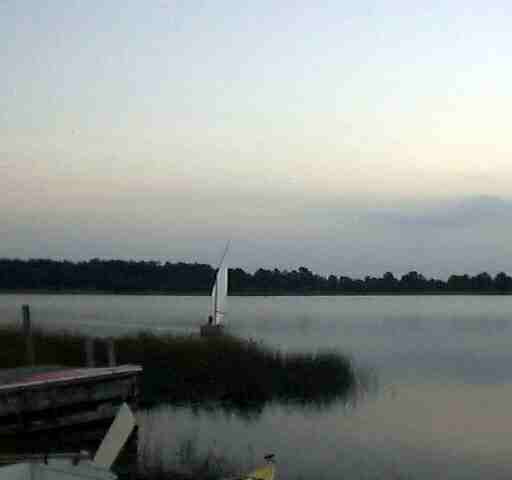
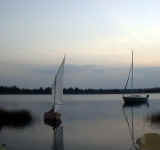
 She patiently awaits a
captain...
She patiently awaits a
captain...
Shucks, if only I hadn't
run out of time, I could have used that extra 8x10 polytarp for a camping
cockpit tent!
|