|
Eastport Pram Launch
with some Rigging and Hardware Improvisations
by David Kagan, Hudson, WI
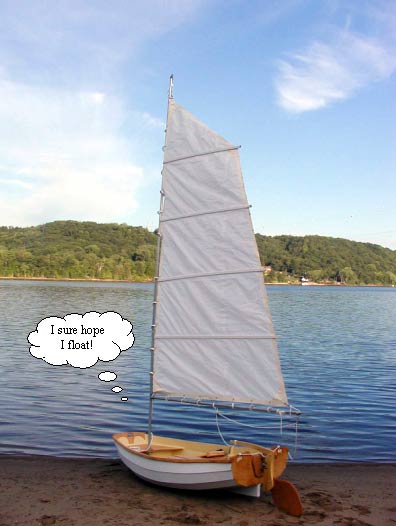
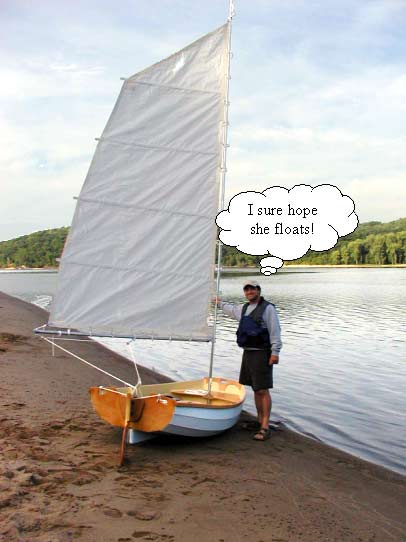
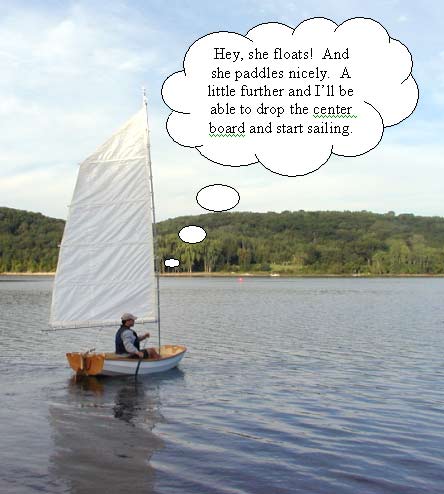
Here are pics from the launch of my Eastport Pram. Winds were very light in these pictures, about 3 to 5 mph, which was just fine to test my hardware and rigging improvisations. Winds were much stronger on the next two days (15 mph with some stronger gusts). The boat did very well in the strong winds, accompanied by moderate chop.
The body of water is the St. Croix River, a national scenic waterway. The current runs right to left (north to south) at a few mph. The wind is coming from the left (south) on this day. The beach here is sheltered just a bit by a well-forested bluff line out of view. You can almost see the line in the water about 15 yards off the beach that separates the calm waters of this little cove from the river proper. It’s about 6:30 am, which is well before the river becomes populated by lots of boats.
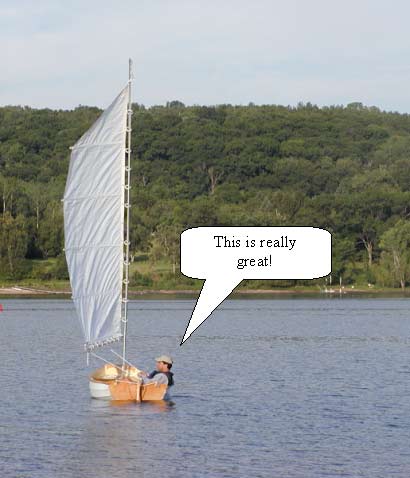
The plans called for a 39 sf standing lug rig with wooden spars. Very handsome, But, I deviated from this. The craftsmen out there might cringe at my aluminum spars. The rig includes a full-battened, almost junk-style sail made from white polytarp and white duct tape using the construction approach as taught substantially by Stevenson Projects. The sail is 61 sf, which is fine for light airs (winds under about 8 to 10 mph), but a bit much in the stronger winds that blew over the next two days. This is the first time I’ve sailed with a full-battened sail like this, but my initial impression is that I really like it. My PFD pockets are stuffed with tools, tape, etc. just in case . . .
The battens are inexpensive and very flexible white plastic trim from Home Depot held on by "industrial" Velcro materials. A grey Sharpie is a convenient way to mark unobtrusive guidelines on the sail for attaching the Velcro strips. The Velcro strips attach to the sail and battens via adhesive and then to each other via the releasable hook and loop features that make this product so neat. The adhesive grips the sail and battens tenaciously; surprisingly so. After about 5 hours of sailing, there are no signs of delamination.
The rig is very light and quickly disassembles easily into shorter pieces for transport.
The free-standing mast and boom are 1-3/8 aluminum fence posts pinned together for easy disassembly. Stevenson Projects teaches using these materials for their wing dinghy, but with shrouds. My sail area is roughly half that of the wing dinghy, so I tested it without shrouds. The rig is quite fine in lighter winds even with the large sail. But, it is bendy in the stronger winds and might benefit from shrouds. Instead of shrouds, though, I'm going to see how a similar, but smaller sail (about 38 SF) works that would likely be more sensible for my boys to handle.
I still need to add some extra wood and hardware at the locations where I will want to attach oarlocks.
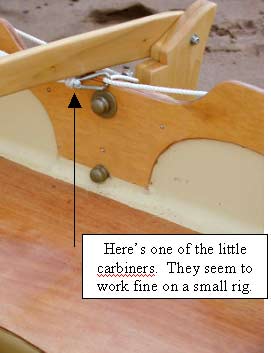
The sail is coupled to the spars using carbiners and PVC hoops. I used lightweight carbiners sold three to a pack from the golf section of Wal-Mart. I wasn’t sure how strong these would be. But, after several hours of sailing, none show any signs of damage whatsoever. They seem to be quite suitable for a small sail. The PVC hoops around the boom are 2 inches in diameter. The hoops around the mast are three inches in diameter so they easily fall over the low profile pin holding the two mast sections together. As long as the halyard is not twisted around the mast, the hoops fall quickly even when the sail is moderately loaded.
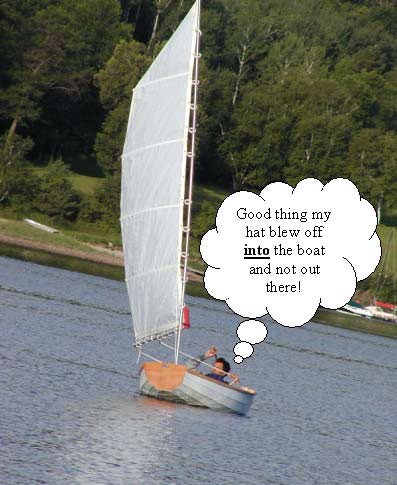
The leech of the sail is generally a parabolic curve, but the foot and luff are cut absolutely straight. Yet, note how the sail develops reasonable draft anyway. It’s easier to see the curvature developed under load along the luff, but the foot of the sail also develops curvature.
The red object that appears at the tack is not part of the rig but actually a channel marker many yards astern.
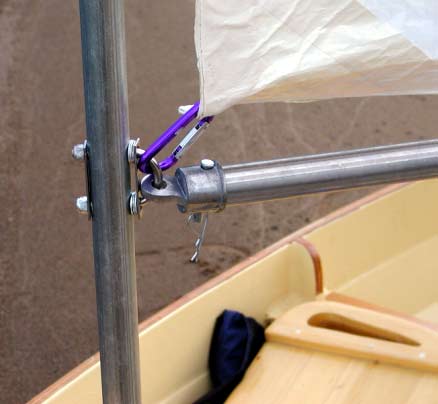
Note the gooseneck. It is a fence cap attached to the boom with a pin and then to a u-bolt through the mast. Stevenson Projects teaches the fence cap approach, but they attach to the mast with a sliding collar.
The boom is easily detached by removing the pin through the fence cap base. The fence cap remains attached to the u-bolt. The curve of the u-bolt is spaced far enough from the mast to give the fence cap room to move back and forth and up and down.
Note the carbiner that attaches the tack to the u-bolt. This one is much bigger than the ones used to attach the sail to the PVC rings.
This shows the Hardware used to attach the rudder to the transom. Galvanized plumbing tees (astern), caps (inside the transom) and an interconnecting pipe section (not visible) attach to the transom itself. Washers are used to help distribute the load, but the bottom tee was attached too close to the seat to use a washer. Galvanized fence hinges are attached to the rudder. An eight inch long by half inch bolt holds it together. A PVC bushing is used inside the fence hinges, as their holes are just a little bigger in diameter than the holes in the tees. The hardware is painted gold.
A little clunky looking for a boat this size? Sure, but it works real well and all the parts cost under $10.
I was hoping that the plumbing caps would come off easily so that I could mount a motor when desired, but I have the sneaking suspicion that the pipe caps on the inside of the transom might be on a little too tightly now to come off.
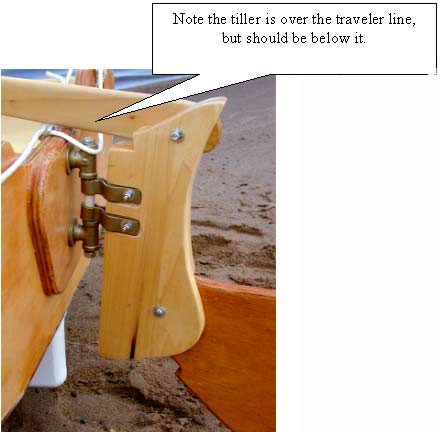
My only hardware issue thus far is that the lock nut on the tiller likes to work loose. This will have to be replaced. |