Greenland-Style Kayak Paddle
by Tidmarsh Major
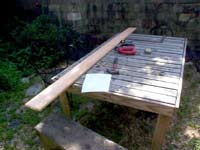
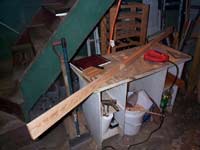
I recently built a Greenland-style kayak paddle (to be used with a yet-to-be-built skin-on-frame kayak). There are a number of web pages with instructions for building a Greenland-style paddle (GP), but I relied on two in particular, Chuck Holst's instructions at qajaqusa.org, and Gerry David's instructions. These pages, and most others that I've come across, use a cedar 2 x 4 as the basis for the paddle. Where I live, however, the only 2 x 4 lumber available is either whitewood stud material or pressure-treated pine. Neither of those seemed a good choice.
|
Instead, I used a cedar 1 x 6 and laminated the offcuts to build up the appropriate thickness in the grip area. |
|
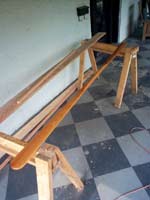
Using the basic dimensions from Gerry David's diagrams, I laid out the paddle on the 1 x 6, first marking a center line with a chalk line. I made the loom 20" wide flaring out to 1.75" over 2", and then to a maximum blade width of 3.5".
|
 |
|
|
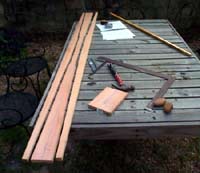
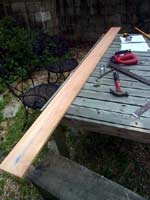
Then, I cut out the rough blank with a jig saw. |
|
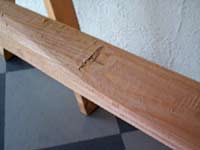
The offcuts are wide enough to laminate over the loom and the 2" wide are where the paddle flares to meet the blade. Next, I glued the first lamination using polyurethane glue. (You can see the second laminationto the right of the paddle blank, awaiting glueup.)
|
 |
|
|
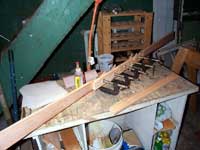
After the glue cured, I timmed the lamination to match the blank and then glued up the other lamination. Before trimming the second lamination, I marked the center line and the maximum thickness. |
|
I then planed the blank down to that thickness so that the blank was thin enough to cut with a jig saw--mine has a maxuimum cut depth of 2".
|
 |
|
|
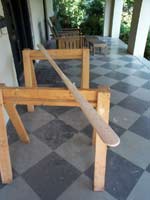
I used the jigsaw set at a 45 degree bevel to cut the loom to eight sides and then used a plane and spokeshave to shape the blank after marking centerlines and edge thicknesses on all sides. I think I could have donealmost all of the shaping with a block plane. |
|
There was only one part of the paddle that I couldn't shape with either the plane or the spokeshave: the place where theloom tapered into the blade. It was too concave for either tool to reach.
|
 |
|
|
I had to use coarse sandpaper to shape this spot. |
|
Then I sanded the paddle smooth, using coarse, medium and fine sandpaper and removing all the pencil marks.
|
 |
|
|
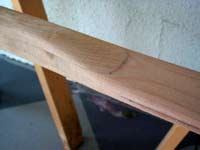
I used a teak oil finish. Here's the first coat (the cedar soaks up a lot of oil!). |
|
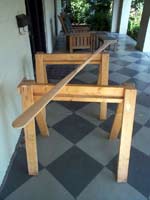
Then, another five or so coats of oil to complete the project. Final weight was 1 lb. 9 oz.
|
 |
|
|
All told, it took me about a week working about an hour day to build the paddle, and another week or so to put on the six coats of oil (at a coat a day). |
|
The total time invested doesn't seem that much more than the amount of time I've read it takes to carve one out of a single 2 x 4, but a laminated paddle can't be built in a day bacause of the necessary glue curing time. I suppose that if one were to glue both laminations at the same time, then it could be completed in two days, but then one couldn't use the center lamination as a guide to cut the outer laminations after they were glued.
|