|
|
Bonham and Jenny came for a long weekend and we began planking the boat. We got better as we went and almost got the whole thing done. I finished the shear plank after they left. With John Welsford's method, you can plank half-way from the front to back with one piece then use another piece for the rest. |
 |
I didn't take photos in the right sequence, so I will skip around a bit to explain the process. The first step in planking is to use a plane with a parallel attachement to create a face on the lower plank that will glue to the next one. This detail from John's drawings gives a better idea what I am talking about. |
|
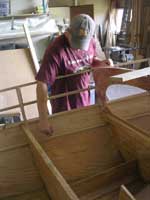
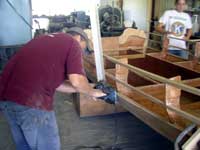
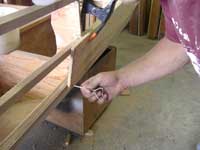
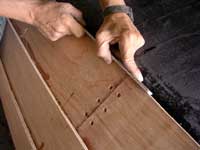
Once the planing is done, cut out a plank the length you need and a bit wider than you think will fit. Present this to the boat and line it up so it covers both the lower mating surface and the stringer. The next step is the spile or mark your plank above the lower stringer as Bonham is doing here, and again above the upper stringer. Next (sorry, no picture) is to make a line parallel and about 3/4" below the lower mark. This is the amount of the overlap. |
 |
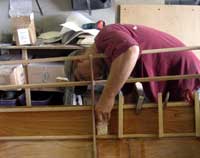
Now you cut about 1/16" away from this overlap line and sand and/or plane down to it. Then bring the plank back to the boat and clamp it in place watching the lines to make sure it is placed properly. When it is clamped in place, drill a small hole in either end... |
 |
... and use a pin or nail to hold this exact alignment. Remove the plank and paint the back with liquid epoxy. |
|
Paint the stringer and glue face on the lower plank with liquid epoxy too, then apply a thin coat of epoxy thickened with silica to the gluing surfaces on one side or the other. The pins will ensure that you do not make too big a mess when you bring the plank to the boat for the final clamp up. |
|
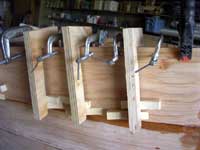
We made a series of plywood "U" shaped pieces and some wedges for gluing the planks. While not as nice as Dave Richards' planking nippers, they were cheap and easy - and they did the job. When gluing epoxy, you do not need a lot of clamping pressure anyway. |
 |
John says to use a butt block at the joints where planks meet, but we decided to use a temporary block (covered with a plastic bag) and glass the joint later. |
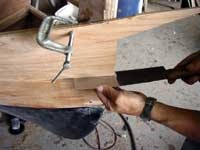 |
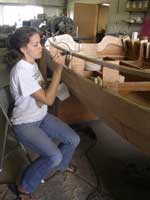
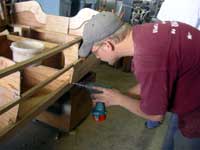
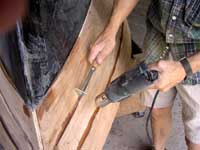
To make a nice job of the bow, you will want to "let the gains". That means with the plank clamped in position, you use something like a japanese saw (as here) to make a cut that tapers from the stem back almost a foot getting shallower away from the stem ... |
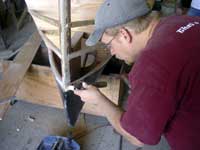 |
... then using a chisel cut away some of that 3/4" area that the overlap glues to so that the planks all line up at the stem. |
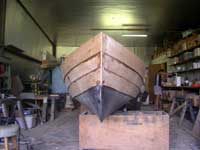 |
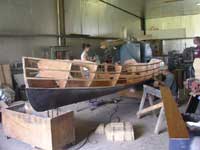
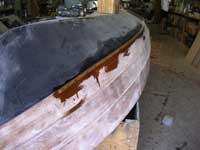
When you are finished with the planking, it should look something like this. |
 |
Now turn the boat over again and use a heat gun and scraper to remove the globs and runs of epoxy. |
 |
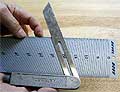
I have a piece of 1" x 1/8" aluminum bar with sandpaper glued to it for jobs like smoothing the edge of the butt joints. |
|
I like to use slightly thinned epoxy for a primer on hardwood plywood like this Meranti. I sanded it smooth then glued on this White Oak splash rail just above the garboard.
Next step: Paint the hull. |
| Reading back through this, it sounds like I am giving instructions on how to do the planking, when all I am really trying to do is tell how we did it. There are lots of ways we could have done it differently. One of the things I like about boat building is the fact that you can build the same boat entirely differently each time - Chuck |