|
Homemade Paddles |

|
|
By Glynn Sirmans - Milledgeville, Georgia - USA |
It just didn’t seem right to have a home-made boat and not a home made paddle.
After searching the internet for free kayak paddle plans without any luck, I decided to go at it alone and come up with plans on my on. After building three paddles I think I got it down to how I like it.
This makes a paddle that is fairly lite and works good for me with my Toto Kayak when I’m doing a “fishing float” trip on the local rivers around middle Georgia.
 |
Here are the basic plans
(click images for larger views) |
|
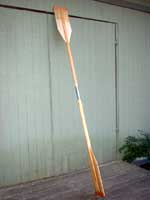
The paddle length comes out to be about 88 inches. I glue and clamp everything together with “gorilla glue”, cover the blades with two coats
of fiberglass epoxy, the handle with one coat of epoxy, then finishing the entire paddle with spar urethane. I found the popular strips already pre-cut at Lowe’s. Two coats of resin is used on the blades
for added strength. The red-oak strip down the center makes the handle more sturdy . The final shaping
of the handle before sanding is done with a block plan.
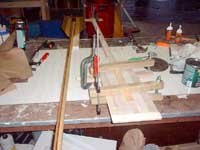
| Blade being clamped and glued in the slot of handle. |
|
|
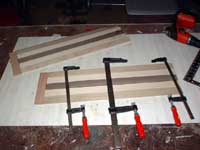 |
Popular strips glued and clamped on edges with red-oak tip for lateral strength.
|
|
On this paddle epoxy was used to glue the blades to the handle, wax paper wrapped around the
clamps to prevent gluing them to the blades.
|
|
|
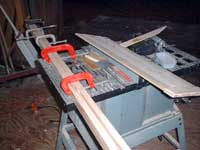 |
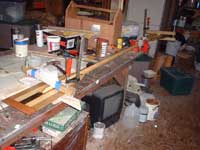
Handle “blank” glued together leaving a slot for the blade. Blade ready to be cut to shape has
tip re-enforcement glued in place.
|
|
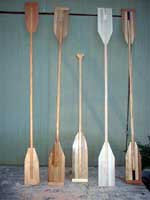
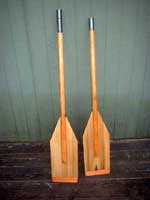
| The paddle on the left has a “closet pole” handle with ¼ inch hardwood ply blades, using it first gave me more of an idea what I wanted “length-wise”. |
|
|
Adding a Ferrule
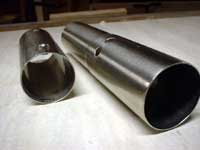 |
Decided to add a Ferrule from Duckworks to one of the paddles for easy storage,
|
|
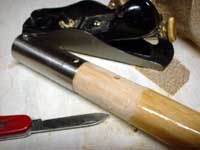
| The opening is 1 ¼ inches in diameter. After cutting the paddle at mid-point the
paddle handles will have to be sized to fit, I used a block plan, knife and 60 grit sandpaper.
I “gorilla” glued it to the handle to seal the wood. |
|
|
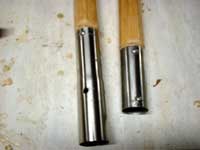 |
The handle ends will insert into the ferrule for about 2 ½ to 2 ¾ inches and the
ferrule will add approx. 1 ¼ inches to the total length of the paddle.
|
|
The holes for the screws must be lined up 90 degrees from the paddle blades,
so you can select a cantered or non-cantered paddle alignment.
(Nice feature)
|
|
|
 |
1 ½ hours in one afternoon to complete the job.
|
|
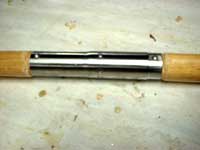
The stainless steel ferule has a close machine fit when
assembled, there is no “play, shake or wobble”.
I’m very satisfied with my new paddle,
can’t wait to “try her out”.
|
|
|

|