Rope Wrapping for Oars 101
|

|
| by Pat Patteson - Molalla,
Oregon - USA |
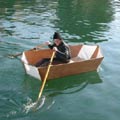
I have several sets of oars I use with different
boats I have built.
Boats from a Bolger, “Elegant Punt”, through
a Bolger “Gloucester Gull” up to a “Rapid
Robert”, 14’, square stern drift boat
and several others.
All my boats are pretty basic, plywood, “Work
Boats” and I don’t think a nice, leather
oar wrap is appropriate for any of them.
But, I do need to protect the looms that see some
very heavy use, especially on the Drift Boat. I used
the term “Sets” of oars rather than “Pairs”
because I always carry 3 oars in my drift boat.
It only takes a second to lose or even break even
the strongest oar and there’s No chance to go
back a get a lost drift boat oar, especially with
only one oar left.
Instead of using leather wraps, I decided to wrap
my oars with “Rope”, the traditional Northwest
Driftboat method. The rope wraps give long-term protection
and if properly sized really hold the oars in the
oarlocks.
There are a lot of times, when drifting, that I
need to drop my oars to help my wife, Kay land a fish.
Kay is the fisherperson. My job is to get her to where
the fish are. With properly sized locks and properly
sized rope wraps there is little danger the oars will
slip out of the locks and the oars can drag in the
water. While not quite as nice Looking as real Leathers,
the rope wrappings do Look pretty good and are not
difficult to make.
Here’s a brief description of how I make rope
wraps for My oars.
I used heavier than usual rope here to illustrate
the process.
The first, very important step is to find a cord/rope
that is the right diameter, that when wrapped around
your oar will fit in the oar lock but not slip out
between the horns. I've used 1/8" up to 1/4"
line for different size oars and locks. The thinner
the line, the more wraps you will need to make and
the nicer the wrapping will look, but sometimes thicker
line will be needed to prevent the oar from slipping
out. The rope I have found best is round, nylon, “Braided”
line. Looks like old fashion, cotton clothesline cord
and comes in several diameters.
The wrapping I do is similar to what I have done
to wrap eyes on home made fishing rods or to tie fletches
(feathers) on home made arrows. Back when arrows were
wooden dowels and fletches where real, split feathers.
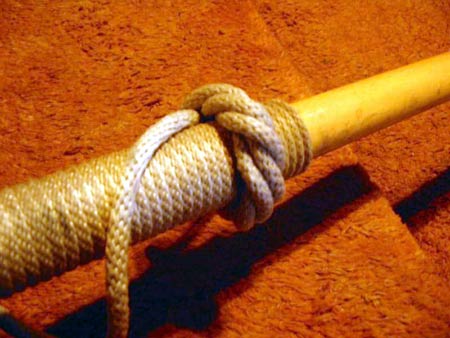
The start is pretty easy.
Determine where the lock will come on the oar and
start the wrap a few inches above that. Tuck one end
of the wrapping rope along the oar and start wrapping
back over the end so there is no loose end hanging
out.
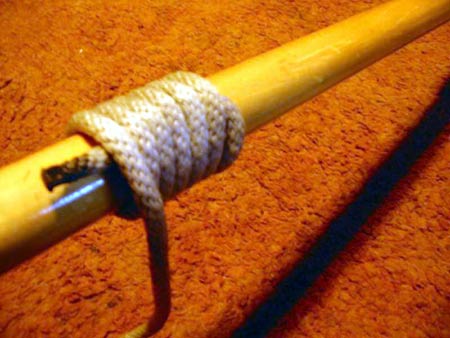
Tuck one end and start wrapping
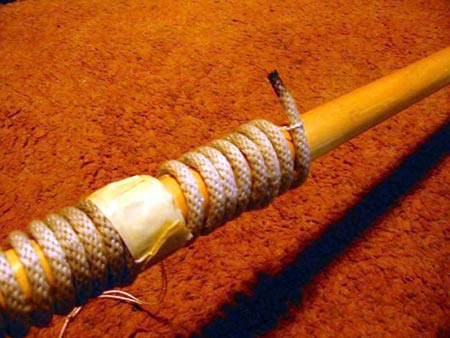
The other end is trickier.
Continue wrapping until you get to where you want
the wrap to stop.
Then cut the line a few inches longer. (the length
of the distance 5 or 6 wraps make on the oar. Hold
or tape the wrap about 5 or 6 wraps from where you
want it to stop and then loosen the wraps beyond that
but keep it all from unwinding.
You will also need a foot or more of thin, lightweight,
but strong
“string” or very light line.
Make a loop with the light line and slip it between
the wrappings that 5 or 6 wraps back so the loop goes
under all the last few wraps. Then insert the end
of the wrapping rope through the loop so you can use
the loop to pull the end back under the last few wraps
so the end is hidden under the wrapping, just like
the start.
Ready to pull the end through...
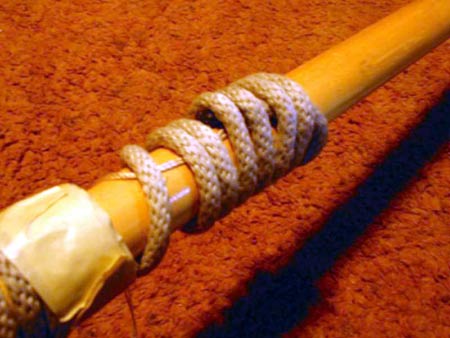
...pulling the end...
...the end in place
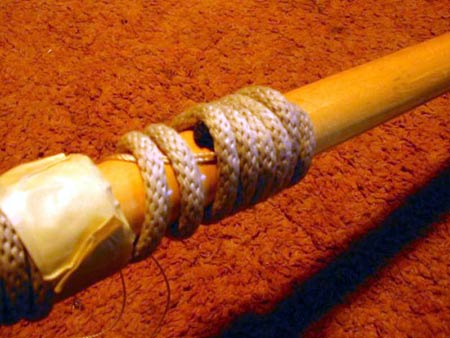
With the taped wraps still tight, start twisting
the loosened wraps to get them as tight as you can.
Takes a while to do that last twisting, tightening
thing, but when you get done the wraps should be tight
all the way to the end with the end of the wrapping
pulled tight and hidden under the last few wraps.
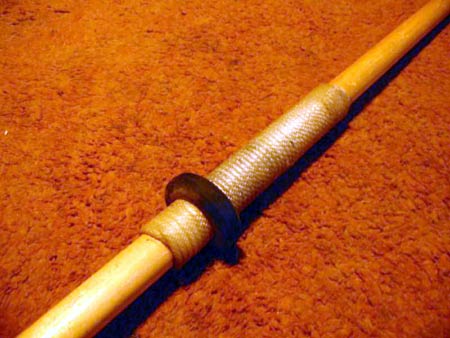
Here’s a picture of the rope wrapping on one
of my light oars. In the photo below, I attached a
commercial rubber Button that is force fitted over
the wraps but a nice woven loop like the one above
could be used as well. I slather thin epoxy over the
ends of the wraps to keep them from unraveling. Might
have to repeat that every so often as UV will eat
the epoxy after a while. Varnish or some other clear
goop might work too.
Here’s the finish product.
The trick that's hard to tell in words, but easier
to show, is the Loop
of light line, under the loosened wraps that allows
you to pull the end
back under.
But, if you play with this Idea, it might become
obvious ? ?
Good Luck
And,
Happy Rowing
Have Fun
Pat Patteson
Molalla, Oregon

Other articles by Pat Patteson:
|