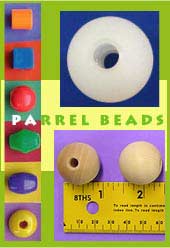
At the start of Pangur Ban's construction, I decided I'd make
as many of her components myself as was possible. Parrel beads
are cheap and easy to find. But, I had a lathe and some time,
so why not make my own?
 |
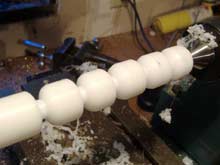
(1) Laying out and marking
the bead sections. |
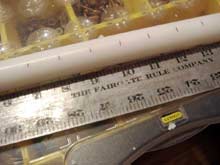
I purchased a three-foot piece of 1 inch diameter Delrin rod.
With that as a starting point I could decide what length and
end radius would work. From that I could grind a forming tool
that would cut the face of one bead and the rear of the next
at one time. (see photo 3) With the tool made, parrel beads
can be made in quantity.
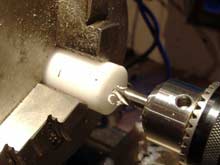 |
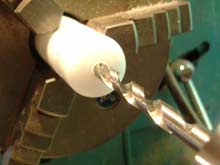
(2) Drilling for the lathe
center. |
A permanent Sharpie marker is used to divide the rod into bead
length segments. (1) The marked rod is chucked in the lathe,
and it is drilled for a lathe center. (2) This must be done
very close to the chuck, as Delrin is pretty flexible.
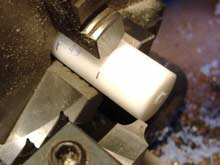 |
(3) Lining up the first
cut on the end of a rod. The mark for the next bead is
lined up with the face of the chuck jaws. |
The rod is advanced in the chuck until the first mark lines
up with the face of the chuck jaws. The forming tool is lined
up with the end of the rod. (3) Make the first cut. (4)
 |
(4) First cut complete. |
Advance the rod till the next mark lines up with the face of
the chuck jaws. Advance the forming tool to make the second
cut. (5) Repeat this advance and cut process. After four or
five beads are roughed out, the end of the rod will have to
be supported by a center in the lathe tailstock. (6)
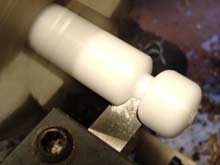 |
(5) Second cut complete. |
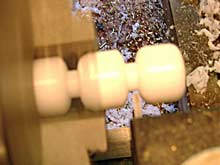
When the rod has been turned into a "string of pearls",
it is drawn back into the lathe headstock. The center is replaced
with a drill chuck, and the rod is bored. (7)
 |
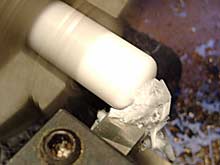
(6)"String of pearls"
supported by a live center. |
With my drill, I can drill a little more than two beads at
a time. It is important to drill the beads while the rod is
completely supported by the chuck jaws, otherwise the drill
will wander off center.
 |
(7) Boring the first beads. |
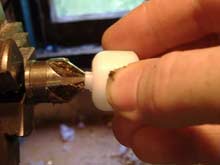
Advance the rod until about one and a half beads protrude past
the chuck jaws. Mount a parting tool, and cut off the bead.
(8) Repeat until all the beads are parted.
 |
(8) Parting the bead from
the string. |
As a final step I mounted a countersink in the lathe chuck,
and used it to bevel the edges of the hole bored in the beads.
(9) You can see from the photograph that the beads will frequently
part with a thin flashing around one end of the bore. This is
caused by the flexibility of the plastic. This flash can be
removed at the same time as the countersinking operation.
 |
(9) Countersinking bore. |