|
Working definition of amateur boatbuilder: can build what he wants and doesn't have to sell it when done.
The Final Bits
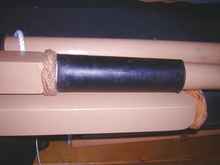
The oars are done and oarlocks installed. I can tell you in retrospect that the elegant serving (rope work) on the oar locks did not protect the wood.
The line was 1/8" dacron painted with shellac, and it marred up the paint on the oars immediately. It was cut off and the traditional loom leathers were sewn on.
I made these leathers 10" long and put a 1/4" Dacron turks head collar just outside the square loom as a stop. This worked much better.
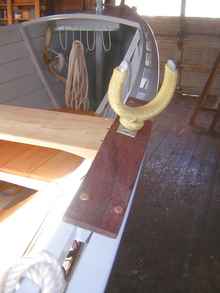
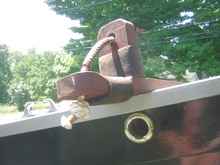
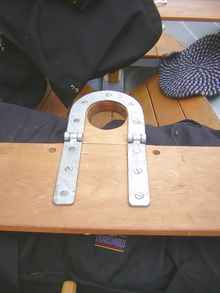
The steering oar has a custom bracket based on the museum drawings that bolts to the back deck. The cut out shown on the horizontal surface gives a more fair bearing for the oar shaft. The two contact surfaces and the restraining lanyard were also covered with leather.
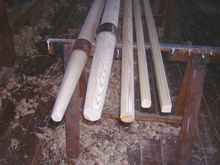
All my spars were made from a pile of 16' spruce 2x4's I bought at the local lumber store. I made the main mast as wide as I could using three pieces (3.5"). The masthead was fitted with a three eye collar for the halyards. All the other spars were scaled up using the dimensions for the Catspaw dinghy; the handbook I bought to build that boat 25 years ago still comes in handy.
The photo above shows the spars in various stages of round: from left to right, mizzen mast, main mast, main sprit, mizz sprit, mizz boom. The next photo shows them sealed with the oil/pine tar mix, with sheave on the main sprit, masthead collar etc.
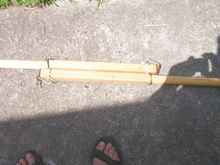
The two pieces on the left fit together and elongate through the brass rings (like a stunsail boom) for the mainsail when running downwind. The brass rings are seized into turks heads, and a free end of line holds a peg; when the rings jam on the square loom, the pegs are inserted to hold it fully extended.
This boom is stowed, along with two oars and the boat hook, on leather slings on the side of the centerboard case.
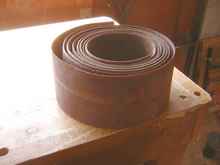
The masts are leathered where they pass through the thwarts using an old drive belt.
I waited until the spars were done before finalizing the fit of the masts. Despite the best draftsmanship there is no substitute for the direct visualization of the rake and plumb lines of the masts.
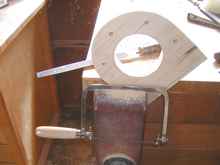
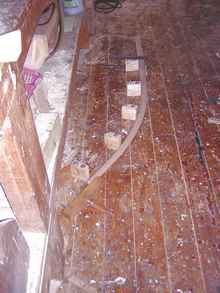
Photos above show the main mast being fitted to the first thwart .The visually determined position of the mast gate differed by 1/4" from the measured position; 1/4" adds up to a lot over 16': refer to photo below.
The mast gates were made with a coping saw, surprising fast and a lot cheaper than buying a 4" hole saw.
Here is the second position gate installed; the holes on either side are for belaying pins.
The mizzen was set up the same way and the thwart drilled.
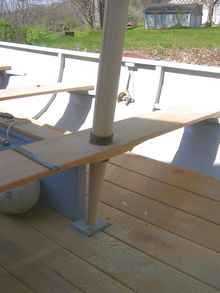
Photo below shows the second mainmast mast step; note the drainage hole in the bottom of the socket and the rivet aft to keep the hole from splitting out. This step fits between two floor frames to prevent fore and aft movement.
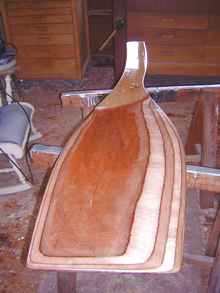
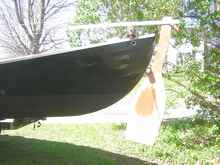
While waiting for the sails to be finished, I went on to build the rudder. This consisted of two pieces of 1/2" ply glued together with 3/8 oak cheeks on the sides, to fit the gudgeons and pintles from Classic Marine. The rudder was faired, especially at the trailing edge; the photo of the ply layers shows this well.
The gudgeons are aligned on the boat using a dowel to maintain a shared axis of rotation. Even so this was fiddly work, and I ended up drilling the holes a bit larger (ok, 1/32") to make the fit easier. The rudder was hung on the boat and the position of the pintles was marked, along with the angle and curve of the tiller.
I got the steam box out again for the tiller; I am always amazed at how the oak will bend. This piece of white oak was 1 1/2" wide and 1 3/4 deep, pre-rounded except at the socket. The rudder and tiller stow under the aft deck.
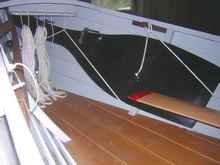
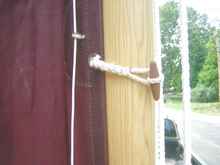
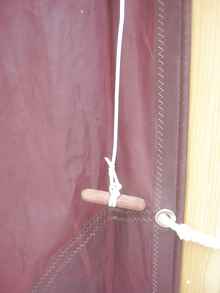
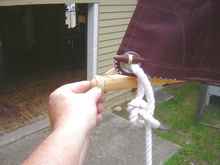
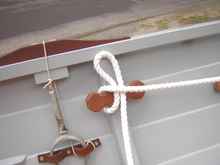
In the design of the sailing rig I was striving for something that would be quick to set up, versatile, and not require arcane skills in knot work etc. To that end, nearly everything is fastened using toggles, I made these from the the Jarrah stockpile, along with belaying pins, "dog bone" cleats, and the sheet leads , or "lizards" as they are known.
The jib fastens through a hole in the stem head with a toggle, and to the halyard with a becket hitch through the eye roped on the peak.
It has two sheets which lead port and starboard through the lizards and tie off with a figure of 8. The main is fairly complicated as sprit sails go, having not only the snotter, but a sprit halyard and peak outhaul to allow reefing without lowering the sprit (see Keuka whaler #5). The sail is fastened to the mast with toggles. The brailing line hangs at shoulder height with a small T toggle to grab.
There are two sheets here as well, lead to lizards farther back. The positions for sheet leads, you will recall, were determined in article 5 from the scale drawing and worked out pretty well; with the lizards tying into the rail, they are easy to adjust. When running downwind the telescoping boom is set up and fastened to the clew with a toggle and the mast with a second snotter line.
Both the boom and the sprit snotters hang from the same thumb cleat .The mizzen is nearly identical to the Catspaw sail, except for the boom, which was required in this case since the sail could not be sheeted properly without it. The single sheet is transferred back and forth to open jarrah cleats just like the Catspaw and hitched for control to the the "bone" cleats. All these lines need to be left free to run, and a slippery hitch is the belay of choice.
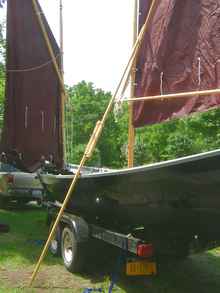
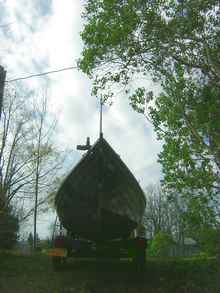
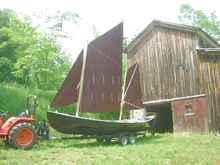
When it was all set up it looked grand but for some reason the mizzen seemed way too high to me. When no one was around, I cut 16" off the bottom of the mast and liked it better. This is the appearance in full sail.
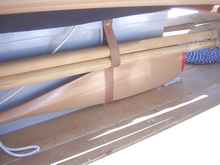
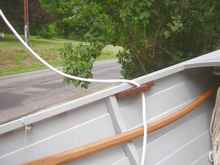
The sails live in "horse blanket" covers when not in use and all the gear (pfd's, tool bag, jib, etc) live in a large duffel that fits under thwart 2. Photo below shows the line hangers (fore and aft) for stowing dock lines, etc.
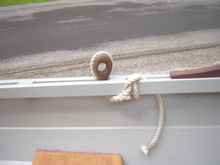
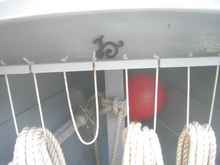
The loose end of the knotted cord fits into a counter sunk hole; I forget where I first saw this done but it is a handy item. The Celtic dragon is an old iron window sash latch from my house; every boat needs a talisman.
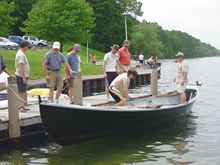
The final article in this series will discuss the performance of the boat on the water. Suffice it to say, I was not disappointed. Crew blows the horns prior to launch below and we are afloat.
|