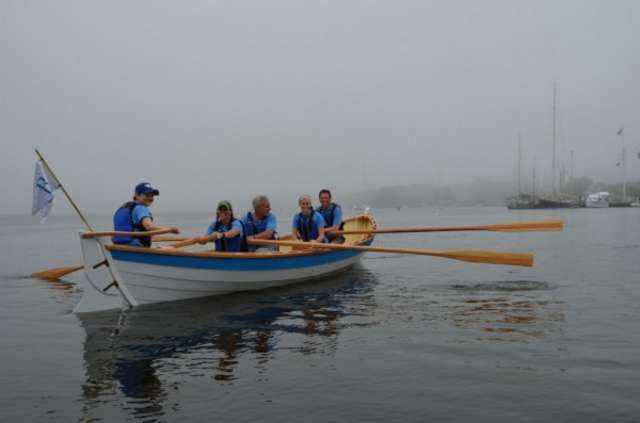
At the Woodenboat show in 2013 I was out rowing the whaleboat minding my own business when this apparition drifted out of the fog. It was sleek and beautiful and rowed by attractive smiling people. I was smitten. I had never seen a St Ayles Skiff before but went home determined to get one for my town.
This boat was created as a community rowboat in 2009 by the Scottish Fisheries Museum and designed by Iain Oughtred, based on the old Shetland fishing boat, the Fair Isle skiff.
 |

Used with Iain's permission here. The Shetland Boat : Adrian G Osler 1983 |
These boats evolved to deal with the dangerous tide races around the headlands, and the Viking ancestry is obvious. The kit was produced by Alec Jordan and, in the first year, 6 were built. There are now over 100.
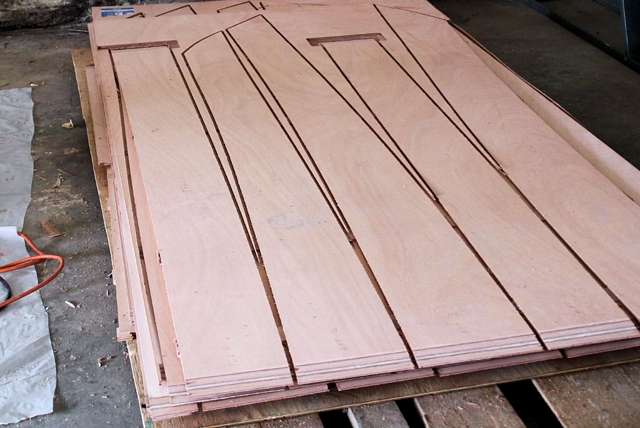
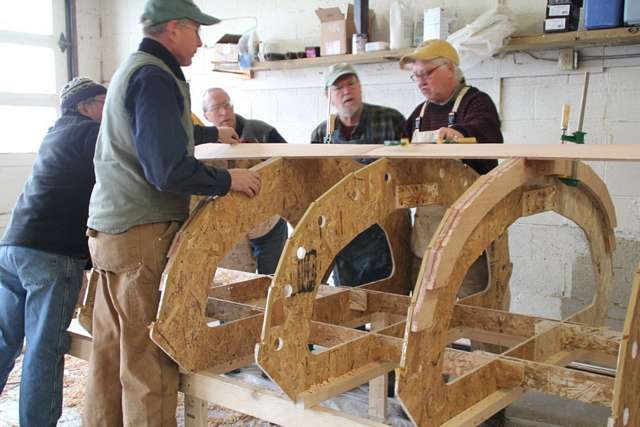
The kit arrives as a stack of CNC cut marine ply including planks (with scarfed edges) molds, ribs, and inner stems. The molds set up in a clever system of interlocking struts and, with the keelson, ribs, and stems in place, planking begins. A word to the wise; changes have been made to the kit since the plans were drawn and if you like to prefab pieces based on the plans, you will find surprises. There have also been some instances where planks did not fit well to a particular hull. I have seen three boats that appear to me to be slightly unfair at station 2, planks 1-3. Like all things in boat building, you have to build to your boat.
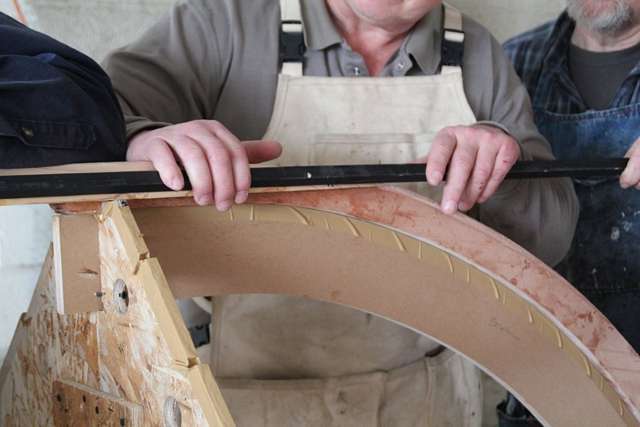
The planks are pre-spiled, but one still has to use arcane methods to fit the rolling bevels. Here we use a magic batten painted with flat black paint to determine the tricky bevel at the keelson/stem transition. The batten is rubbed along the lie of the plank and the black paint is planed off.
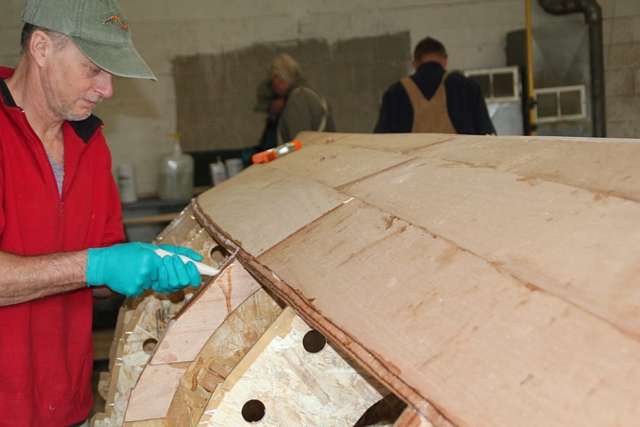
The plank sections can be pre-glued at the scarfs on the bench using marks supplied by the maker; I prefer to scarf them on the boat. We stole a neat trick from an OffCenterHarbor video and used pastry bags ($8 for 100) to lay down the epoxy bead.
The clothespin type lap clamps are supplied with the kit.
One of my students came up with the idea of using ratchet tie-downs to clamp the keel and outer stems.
I see BMC has done the same thing - Bayfront Maritime Center - The Boat Shop.
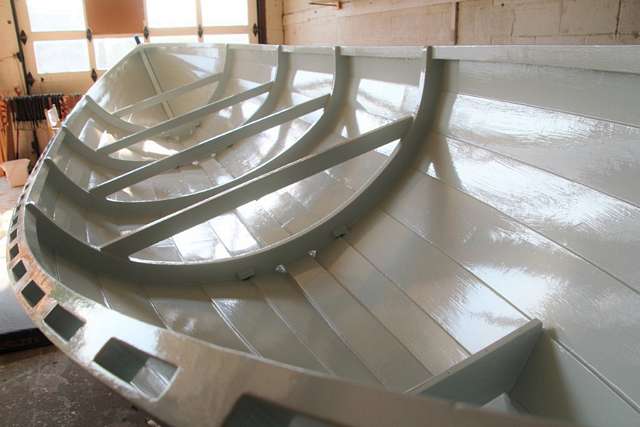
Here is the completed hull. There were cheers all around, and then their faces fell to hear that we were about 1/4 done.
Note the black locust keel and stems.
We made some changes from the plans; I prefer an open gunnel and a traditional breasthook.
Some clubs have eliminated the floorboards in an effort to save weight, but I think they are useful and look great. Knots don't matter here.
A good finish is very time consuming. The hull has Interlux Brightside (two coats) on top of Primekote (one coat) on top of epoxy (3 coats) - lots of sanding in between.
There is a decision to be made as to whether the boat is fully encapsulated with epoxy or not. If the boat is going to be kept on a trailer indoors I do no think it is necessary. Epoxy costs for the fully sealed hull were $600 (WEST), about half of which was for the encapsulation.
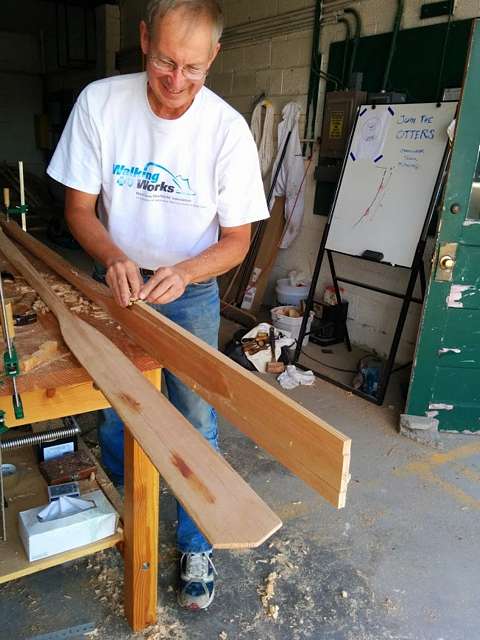
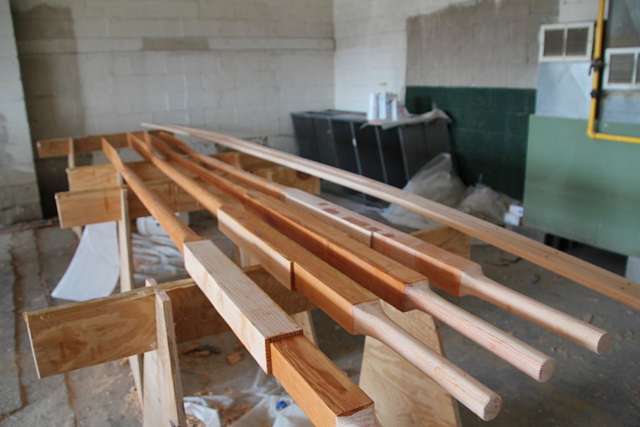
Each student made his own oar, and they all came out great.
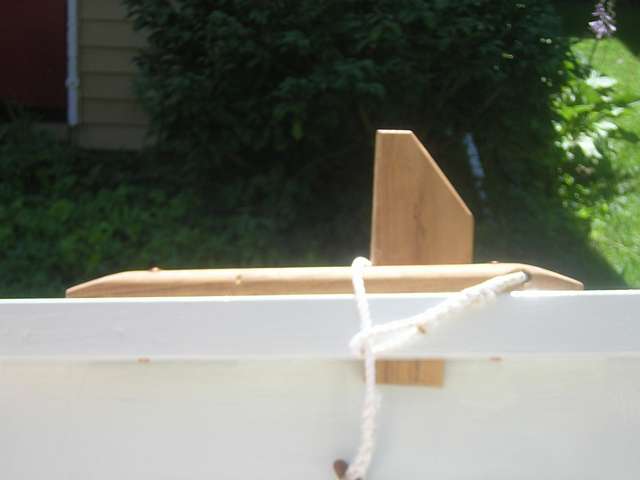
There is an ongoing debate among the clubs about length; we made ours 11' at the bow and stern and 11'10" at the middle two stations. The club rules specify no fancy metal oarlocks, and the plans show the Iron Age routh and kabe design, a pad with an upright block mortised into the rail. The oar has sacrificial wood boards (sclates) that bear on the pad and upright, and is held in place with a lanyard (humbliband in old dialect).
The two end kabes are perpendicular to the waterline and not to the sheer, and the sclates need to be beveled to match. These oars cannot be feathered, but the design is robust and built for all weather.
In rounding over the edges of the rub rail with a router, I left a groove from an oversized bearing washer. Louis Pasteur said "chance favors the prepared mind", so I put a bead over the groove with a Viking replica scratch stock; the rails are screwed and bedded for easy service.
One of my crew is an artist (SOTTILESCULPTURE.COM) who had his way with the tiller, steam bent oak with a pegged through tenon.
Here is the boat on launch day with all the gear and in the water. It is a rocket and a beauty. Watch the video and join the club.
Thank you to my wonderful crew: Don, Dexter, Charlie, Brendan, Robert, Wade, JIm, George , Erik, Panache, and Gia.
|